textswitcher android example using android studio
Hello Guys. Welcome to our new tutorial of textswitcher android example using android studio. this post you can learn how to use textswitcher and how it works.
please follow the code given below to display textswitcher android example using android studio
- First Create a new project in Android Studio
- File ⇒ New Android ⇒ Application Project
- Then Open src -> package -> MainActivity.java and then add following code :
JAVA (MainActivity.java)
import android.support.v7.app.AppCompatActivity;
import android.os.Bundle;
import android.graphics.Color;
import android.view.Gravity;
import android.view.View;
import android.widget.Button;
import android.widget.TextSwitcher;
import android.widget.TextView;
import android.widget.ViewSwitcher;

public class AndroidTextSwitcher extends AppCompatActivity {
    TextSwitcher textSwitcher ;
    Button Next ;
    int StringIndex = 0 ;
    String[] Row = {
            "Sunday",
            "Monday",
            "Tuesday",
            "Wednesday",
            "Thursday",
            "Friday",
            "Saturday"
    };

    TextView textView ;

    @Override
    protected void onCreate(Bundle savedInstanceState) {
        super.onCreate(savedInstanceState);
        setContentView(R.layout.activity_android_text_switcher);

        textSwitcher = (TextSwitcher)findViewById(R.id.textswitcher1);
        Next = (Button)findViewById(R.id.button);

        Next.setOnClickListener(new View.OnClickListener() {
            @Override
            public void onClick(View arg0) {

                if(StringIndex == Row.length-1){

                    StringIndex = 0;

                    textSwitcher.setText(Row[StringIndex]);
                }
                else{

                    textSwitcher.setText(Row[++StringIndex]);
                }
            }
        });
        textSwitcher.setFactory(new ViewSwitcher.ViewFactory(){
            @Override
            public View makeView() {
                textView = new TextView(AndroidTextSwitcher.this);
                textView.setTextColor(Color.BLACK);
                textView.setTextSize(40);
                textView.setGravity(Gravity.CENTER_HORIZONTAL);
                return textView;
            }});

        textSwitcher.setText(Row[StringIndex]);

    }
}
- Now Open res -> layout -> activity_main.xml and then add following code :
XML (activity_main.xml)
<RelativeLayout xmlns:android="http://schemas.android.com/apk/res/android"
    xmlns:tools="http://schemas.android.com/tools"
    android:id="@+id/activity_main"
    android:layout_width="match_parent"
    android:layout_height="match_parent"
    android:background="#FFF8E1">

    <TextSwitcher
        android:id="@+id/textswitcher1"
        android:layout_width="fill_parent"
        android:layout_height="wrap_content"
        android:layout_centerHorizontal="true"
        android:inAnimation="@android:anim/slide_in_left"
        android:outAnimation="@android:anim/slide_out_right"
        android:layout_marginTop="65dp"
        />

    <Button
        android:text="Next Text"
        android:layout_width="fill_parent"
        android:layout_height="wrap_content"
        android:layout_centerVertical="true"
        android:layout_centerHorizontal="true"
        android:id="@+id/button" />

</RelativeLayout>
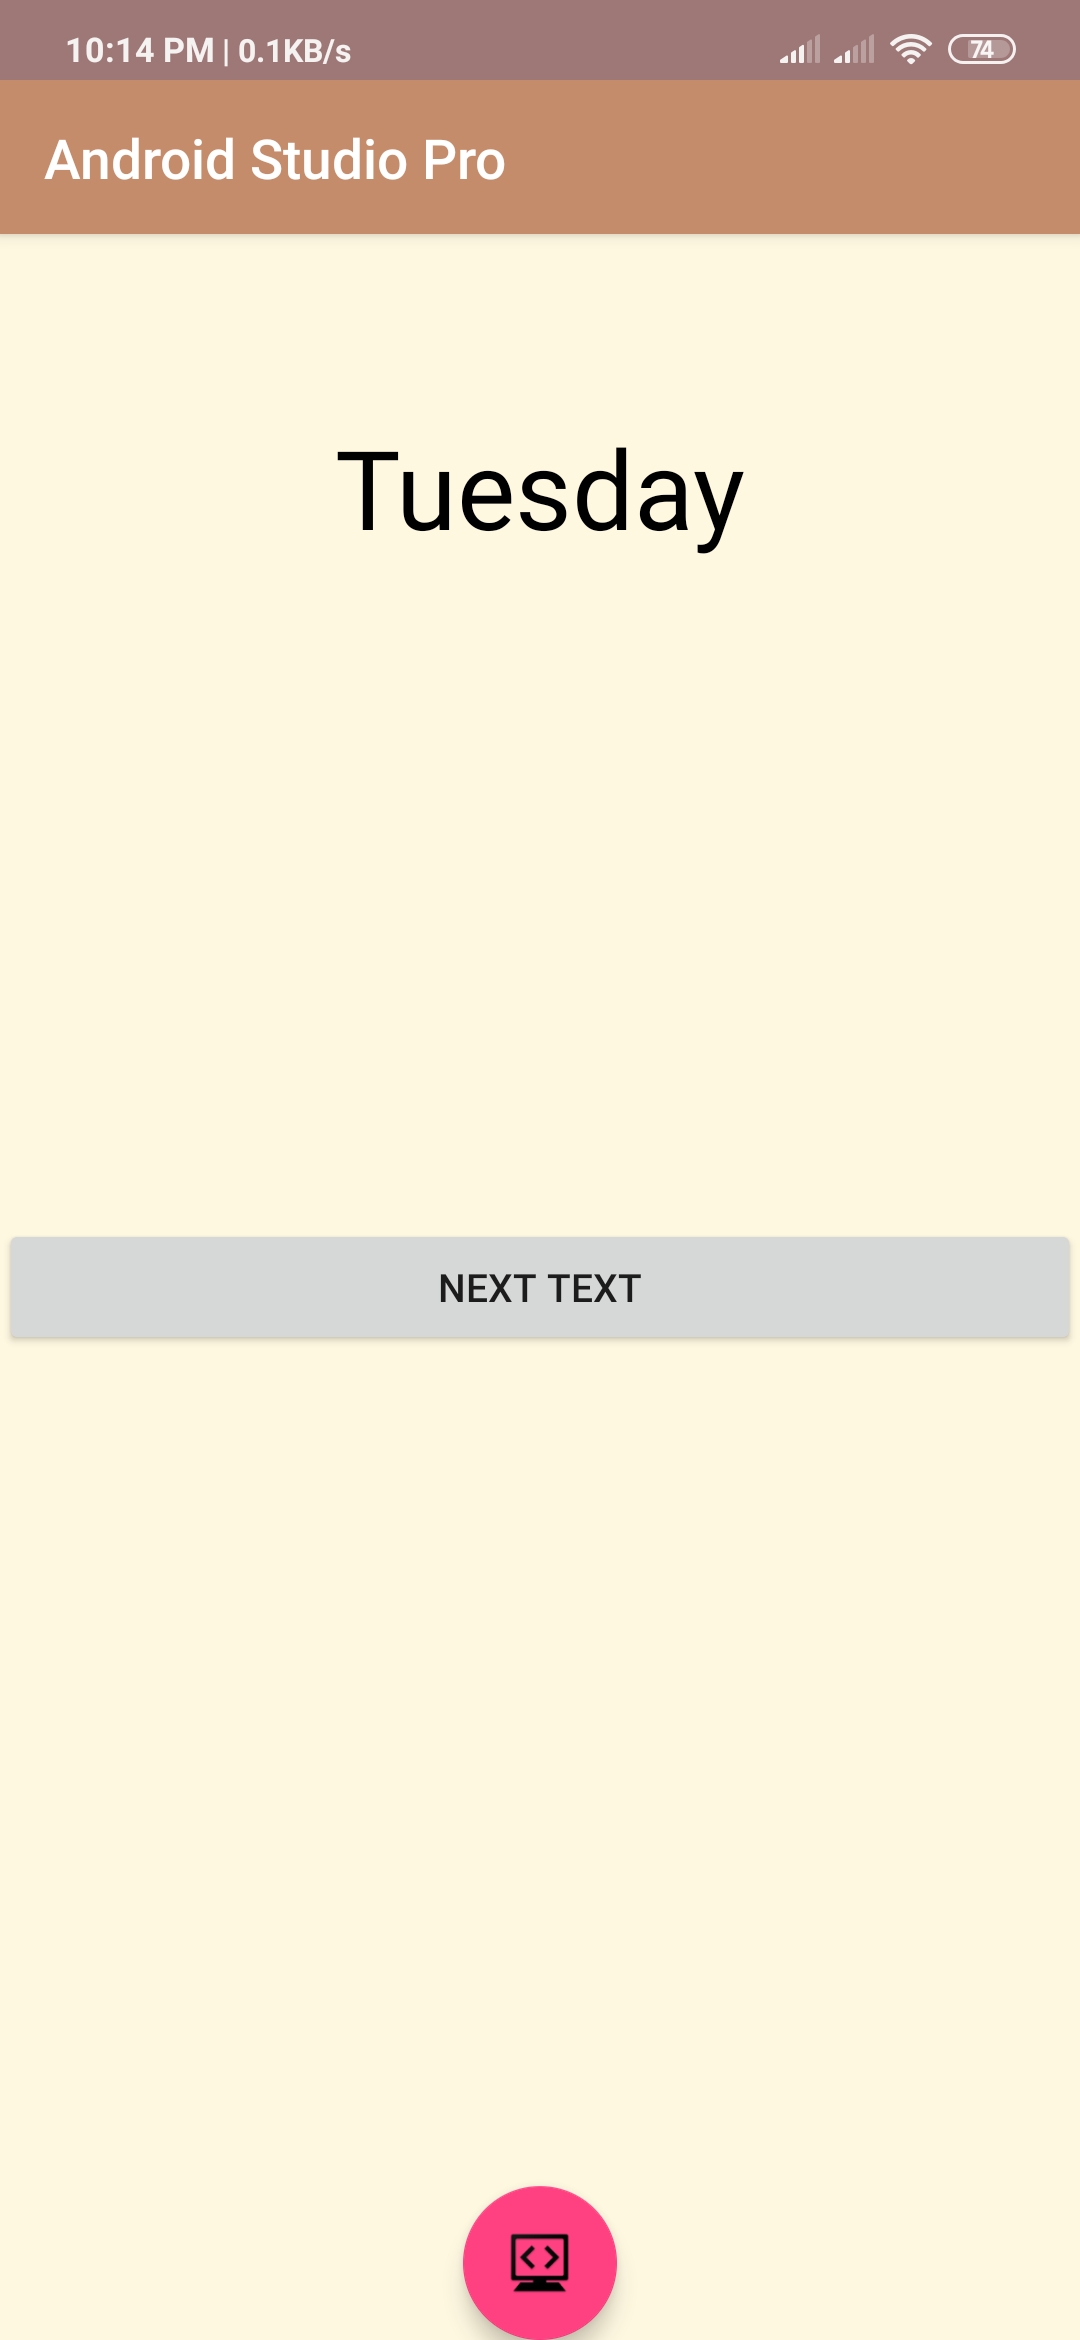
Output:
Finally, run this project.
This is how textswitcher android example looks like.