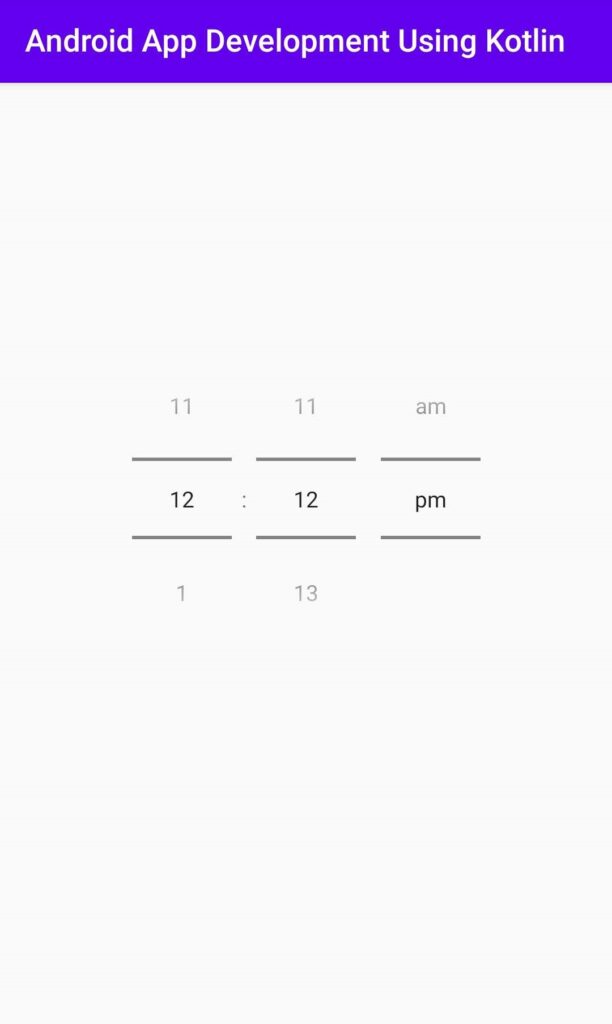
Timepicker Android Kotlin Example in Android Studio
Hello android developer in this article we will learn how to use time picker using kotlin language in android studio. in android TimePicker widget is use to sleeting the time of day, in either AM/PM mode or 24-hour format. This example help us how to use Time Picker Dialog in Android using Kotlin.
Basically in android, Time picker is available in two mode modes one is spinner mode and another one is clock mode. if you want to select time manually then follow the below code.
You may know also:
WebView in an Android App using Kotlin language
Radio Button Example in kotlin
Android Calculator in Kotlin Using Android Studio
Android Time Picker Dialog using Kotlin – Android Studio
first create a new android Project by following the below step. if you already create new android project then ignore the below steps.
- First open Android Studio.
- Now go to File => New Project.
- After that write your android project name and select kotlin language from dropdown menu and click next button.
- Now select minimum sdk and click next button.
- Then select empty activity and click finish button.
Now open activity_main.xml layout file inside res/layout and replace the code given below:
activity_main.xml
|
1 2 3 4 5 6 7 8 9 10 11 12 13 14 15 16 17 18 19 20 21 22 23 24 25 26 27 28 29 30 31 32 33 |
<androidx.constraintlayout.widget.ConstraintLayout xmlns:android="http://schemas.android.com/apk/res/android" xmlns:tools="http://schemas.android.com/tools" xmlns:app="http://schemas.android.com/apk/res-auto" android:layout_width="match_parent" android:layout_height="match_parent" > <TimePicker android:id="@+id/timePicker" android:layout_width="wrap_content" android:layout_height="wrap_content" android:layout_centerHorizontal="true" android:timePickerMode="spinner" app:layout_constraintBottom_toTopOf="@+id/singin" app:layout_constraintEnd_toEndOf="parent" app:layout_constraintStart_toStartOf="parent" app:layout_constraintTop_toTopOf="parent" /> <TextView android:id="@+id/singin" android:layout_width="wrap_content" android:layout_height="wrap_content" android:layout_alignBottom="@+id/timePicker" android:paddingLeft="80dp" android:textSize="18dp" app:layout_constraintBottom_toBottomOf="parent" app:layout_constraintEnd_toEndOf="parent" app:layout_constraintStart_toStartOf="parent" app:layout_constraintTop_toBottomOf="@+id/timePicker" /> </androidx.constraintlayout.widget.ConstraintLayout> |
in activity_main.xml, we have define two widget one is timePicker and another one is textView. using MainActivity.kt file we access these widget to perform some operations on it.
Now open MainActivity.kt file and below code into it.
MainActivity.kt
|
1 2 3 4 5 6 7 8 9 10 11 12 13 14 15 16 17 18 19 20 21 22 23 24 25 26 27 28 29 30 31 32 33 34 35 36 37 |
import androidx.appcompat.app.AppCompatActivity import android.os.Bundle import android.view.ViewGroup import android.widget.TextView import android.widget.TimePicker class MainActivity : AppCompatActivity() { override fun onCreate(savedInstanceState: Bundle?) { super.onCreate(savedInstanceState) setContentView(R.layout.activity_main) OnClickTime() } private fun OnClickTime() { val textView = findViewById<TextView>(R.id.singin) val timePicker = findViewById<TimePicker>(R.id.timePicker) timePicker.setOnTimeChangedListener { _, hour, minute -> var hour = hour var am_pm = "" when {hour == 0 -> { hour += 12 am_pm = "AM" } hour == 12 -> am_pm = "PM" hour > 12 -> { hour -= 12 am_pm = "PM" } else -> am_pm = "AM" } if (textView != null) { val hour = if (hour < 10) "0" + hour else hour val min = if (minute < 10) "0" + minute else minute val msg = "Time is: $hour : $min $am_pm" textView.text = msg textView.visibility = ViewGroup.VISIBLE } } } } |
Now run the timepicker application in android emulator or on your android device.you will get output as shown below.
download source code from github


