
Android Studio TextSwitcher using kotlin Language
Hello android developer in this article I will tell you how to use android TextSwitcher programmatically in kotlin in the android application. Android TextSwitcher is a widget that contains multiple text and Displays once at a time. follow our post to switch texts from an array.
Create a TextSwitcher Android app using Kotlin language.
Let’s start with a new project in Android Studio by following below steps. if you already create new project then ignore this steps.
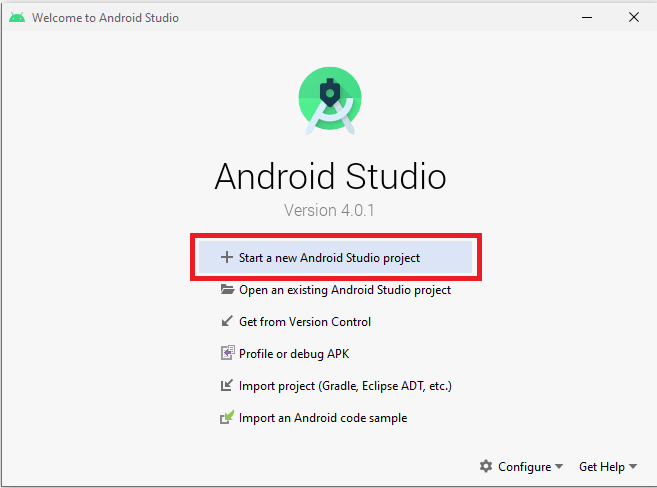
Step 1 : open your android studio and then click on start new Android Studio project.
Step 2 : Now select Empty Activity under the Phone and Table tab and click Next button.
Step 3: Write your project name and select kotlin language. leave other fields as it is, then click on finish button.
You may know also:
Android Calculator in Kotlin Using Android Studio
Expandable List View code snippet for Android Studio
For this TextSwitcher app we require some elements.
- Button
- TextSwitcher
by default it will open MainActivity.kt and activity_main.xml file. for front end .xml file for back end .kt file.
Now first Open res/layout/activity_main.xml file. and copy our xml codes from the below and add it to the Activity_main.xml file in your project.
activity_main.xml
<androidx.constraintlayout.widget.ConstraintLayout
    xmlns:android="http://schemas.android.com/apk/res/android"
    xmlns:app="http://schemas.android.com/apk/res-auto"
    xmlns:tools="http://schemas.android.com/tools"
    android:layout_width="match_parent"
    android:layout_height="match_parent">

    <TextSwitcher
        android:id="@+id/textSwitcher"
        android:layout_width="match_parent"
        android:layout_height="wrap_content"
        android:layout_marginLeft="32dp"
        android:layout_marginTop="32dp"
        android:layout_marginRight="32dp"
        app:layout_constraintLeft_toLeftOf="parent"
        app:layout_constraintRight_toRightOf="parent"
        app:layout_constraintTop_toTopOf="parent" />

    <Button
        android:id="@+id/prev"
        android:layout_width="wrap_content"
        android:layout_height="wrap_content"
        android:layout_marginStart="32dp"
        android:layout_marginTop="128dp"
        android:text="prev"
        app:layout_constraintRight_toLeftOf="@id/next"
        app:layout_constraintStart_toStartOf="parent"
        app:layout_constraintTop_toBottomOf="@+id/textSwitcher" />

    <Button
        android:id="@+id/next"
        android:layout_width="wrap_content"
        android:layout_height="wrap_content"
        android:layout_marginEnd="32dp"
        android:text="next"
        app:layout_constraintEnd_toEndOf="parent"
        app:layout_constraintHorizontal_bias="1.0"
        app:layout_constraintStart_toEndOf="@+id/prev"
        app:layout_constraintTop_toBottomOf="@id/textSwitcher"
        app:layout_constraintTop_toTopOf="@+id/prev" />

</androidx.constraintlayout.widget.ConstraintLayout>
we design basic user interface. now write some code to the MainActivity.kt so this application work. for that open the MainActivity.kt file (src -> package -> MainActivity.kt) in MainActivity.kt and copy and past the backend TextSwitcher code.
MainActivity.kt
import androidx.appcompat.app.AppCompatActivity
import android.os.Bundle
import android.view.Gravity
import android.widget.TextSwitcher
import android.widget.TextView
import android.view.animation.AnimationUtils
import android.widget.Button
import android.graphics.Color
class MainActivity : AppCompatActivity() {
private val day = arrayOf("Sunday","Monday","Tuesday","Wednesday","Thursday","Friday","Saturday")
private var index = 0
override fun onCreate(savedInstanceState: Bundle?) {
super.onCreate(savedInstanceState)
setContentView(R.layout.activity_main)
val textSwitcher = findViewById<TextSwitcher>(R.id.textSwitcher)
textSwitcher.setFactory {
val textView = TextView(this@MainActivity)
textView.gravity = Gravity.TOP or Gravity.CENTER_HORIZONTAL
textView.textSize = 32f
textView.setTextColor(Color.BLUE)
textView
}
textSwitcher.setText(day[index])
val textIn = AnimationUtils.loadAnimation(
this, android.R.anim.slide_in_left)
textSwitcher.inAnimation = textIn
val textOut = AnimationUtils.loadAnimation(
this, android.R.anim.slide_out_right)
textSwitcher.outAnimation = textOut
val prev = findViewById<Button>(R.id.prev)
prev.setOnClickListener {
index = if (index - 1 >= 0) index - 1 else 4
textSwitcher.setText(day[index])
}
val button = findViewById<Button>(R.id.next)
button.setOnClickListener {
index = if (index + 1 < day.size) index + 1 else 0
textSwitcher.setText(day[index])
}
}
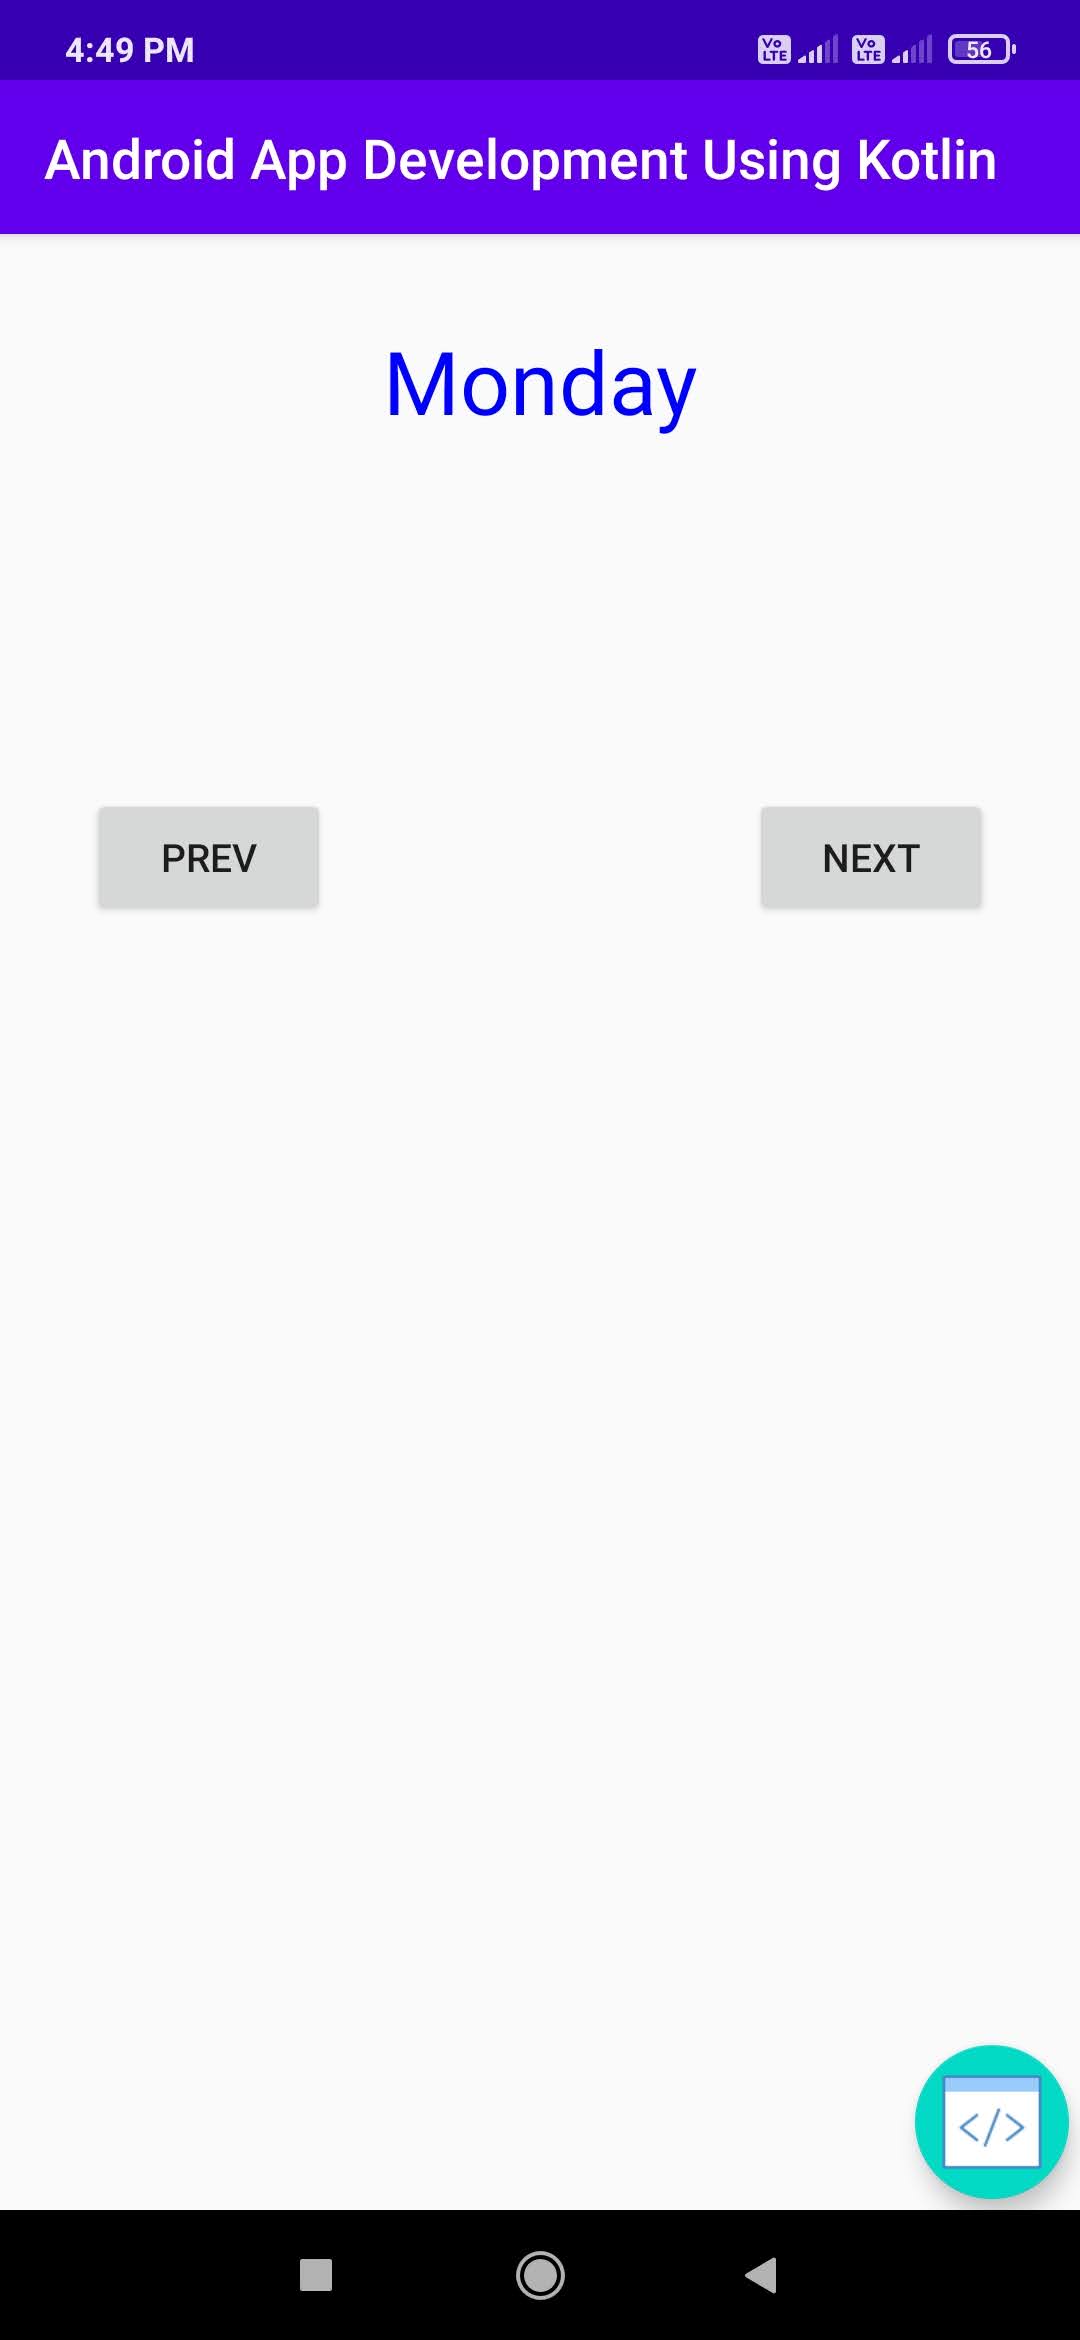
}Congratulations! You have completed your basic TextSwitcher app using kotlin language. Now Run the app using the emulator. you will get output as shown below.


Download Android source code from github