How To Become An Android App Developer
Hi, all this is Madhusudan Nayak from studyviewer.com and I welcome you to you all to this article on how to become an android app developer. this article covered everything that you need to know about the roles and responsibilities of an android developer. and what should you do in order to become a successful android developer?

Now the specific point that we are going to touch upon are how you can become an android developer what is the prerequisite before getting started as an android developer. also, I am going to talk about what are the free resources and paid resources available online
as well as how you can publish your apps to the online or google play store. also, I am going to tell you how to earn money using this android app. all of this coming up in this website stay tuned for that.
Now lets talk about the android. now i am going to touch upon a few points that are help you to become an android developer.
Why Become an Android Developer
Because Android has dominated the global smartphone operating system.in fact, android os is founded almost 75% smartphone worldwide as of February 2020.
programming languages needed for app development
For Frontend.
XMl
it’s a markup language that used to develop the frontend of your android app(design layout).XML language much like HTML language.if you want to develop good looking app for you then you must need to about XML language.
For Backend
Java
Java Most preferred language for developing an android app. using java program you can create an android application. most android application are developed using java programming language.so if you have the basic understanding of Java language then you can easily develop almost any android application.
Kotlin
Kotlin also helps you to create an android app. in 2017 google announced kotlin language official Android development language at Google I/O.
For Database
SQL
You will also need to learn the basics of SQL. suppose you want to create android app like note app.that need to save data into your android device. that time SQL will help you. so if you want to create an app that needs to save data then you must need basics knowledge of SQL database.
Best IDE for app development
if you want to create an android app then Integrated development environment(IDE) will help you. there are many people available online. example Android Studio, Eclipse, IntelliJ etc.
Android Studio
I recommend you to use the android studio. because Android Studio is the official IDE for Develop android application. or android studio one of the best ide for android developer. it’s available for download on macOS, Windows and Linux based operating system.
if you don’t know how to install android studio on your computer then read my previous article.
How to Create an Android App With Android Studio
now I am going to tell you how to build an android application using android studio.
- First, download and install android studio on your computer
- After complete install android studio now open it on your computer.
- Now you will see a welcome to android studio window will appear on your computer screen.
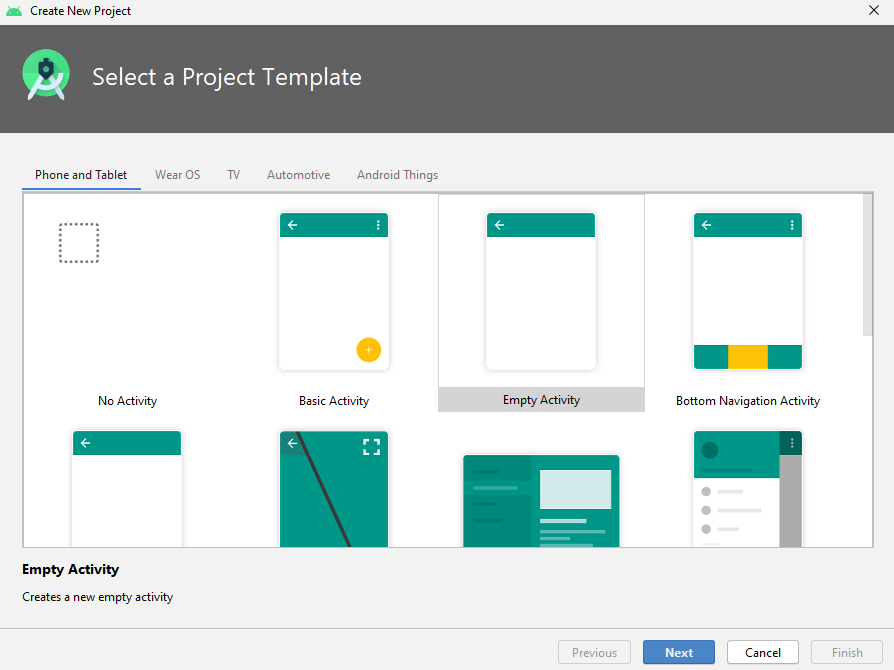
- Then click on Start a new Android Studio Project.

- Next window selects any activity and clicks next. if you are new then select Empty Activity and click Next.

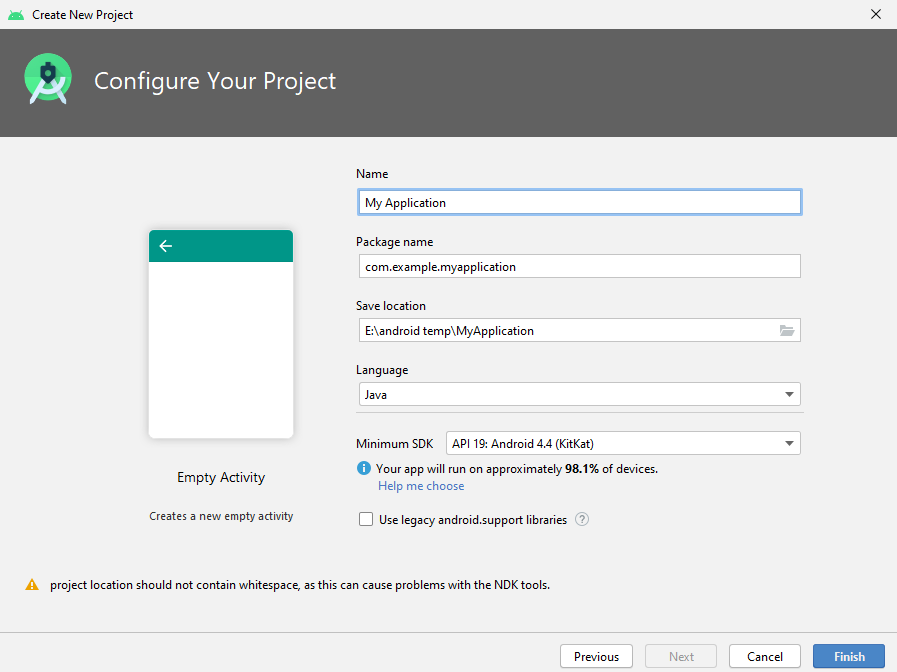
- Now type of Project name in the field below “Name” at the top.
- Select Programing language using the drop-down menu.
- Now API level using the drop-down list.
- Now click Finish Button.
Android Button Click example
Hello Reader, now we are going to create a basic android application. using android OnClickListener.Android Button OnClick Tutorial.this example demonstrates about how we can display a Toast When a button being clicked.
File : res/layout/main.xml

|
1 2 3 4 5 6 7 8 9 10 11 12 13 14 15 16 17 18 |
<androidx.constraintlayout.widget.ConstraintLayout xmlns:android="http://schemas.android.com/apk/res/android" xmlns:app="http://schemas.android.com/apk/res-auto" xmlns:tools="http://schemas.android.com/tools" android:layout_width="match_parent" android:layout_height="match_parent" tools:context=".MainActivity"> <Button android:id="@+id/button" android:layout_width="wrap_content" android:layout_height="wrap_content" android:text="@string/button" app:layout_constraintBottom_toBottomOf="parent" app:layout_constraintEnd_toEndOf="parent" app:layout_constraintStart_toStartOf="parent" app:layout_constraintTop_toTopOf="parent" /> </androidx.constraintlayout.widget.ConstraintLayout> |
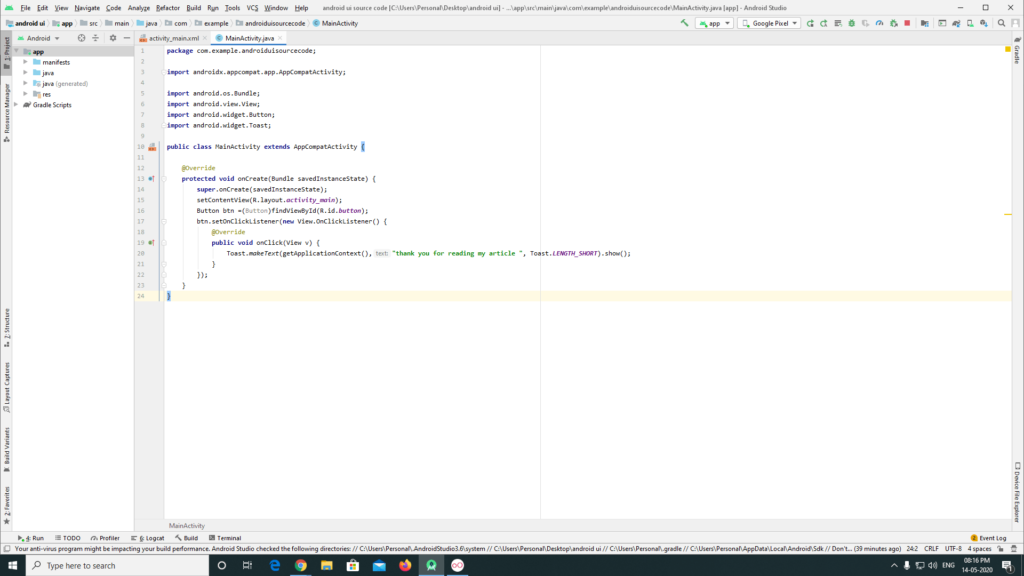
File : MainActivity.java

|
1 2 3 4 5 6 7 8 9 10 11 12 13 14 15 16 17 18 19 20 21 22 |
import androidx.appcompat.app.AppCompatActivity; import android.os.Bundle; import android.view.View; import android.widget.Button; import android.widget.Toast; public class MainActivity extends AppCompatActivity { @Override protected void onCreate(Bundle savedInstanceState) { super.onCreate(savedInstanceState); setContentView(R.layout.activity_main); Button btn =(Button)findViewById(R.id.button); btn.setOnClickListener(new View.OnClickListener() { @Override public void onClick(View v) { Toast.makeText(getApplicationContext(),"thank you for reading my article ", Toast.LENGTH_SHORT).show(); } }); } } |
Output

