Chrome Custom Tabs code for Android Studio
Welcome. Here in this tutorial you will learn how to add Chrome custom tabs in Android Studio.
Chrome Custom Tabs Example for Android Studio
In Android Studio, when you want to open any URL in your app, there were generally two options available. They are
- Opening in a new tab
- Using Webviews
But both of these two methods had their own problems. To solve this, chrome introduced an alternate solution with the concept of Chrome Custom Tabs. This is more customizable and make transitions among local and web content progressively consistent without falling back on a WebView.
Adding a Chrome Custom tab in your App
To add a chrome custom tab, first of all you will have to add its dependency to your android build.gradle file. Just add the latest version of the below given dependency.
|
1 |
compile 'com.android.support:customtabs:28.0.0-alpha3' |
To launch a custom tab, you can use the following code:-
|
1 2 |
CustomTabsIntent.Builder builder = new CustomTabsIntent.Builder().build(); customTabsIntent.launchUrl(this, Uri.parse(url)); |
You can also set the toolbar colour of your new chrome tab by using this code:-
|
1 |
builder.setToolbarColor(Color.parseColor("#3F51B5")); |
To add the share option in the new chrome tab menu bar, add this line:-
|
1 |
builder.addDefaultShareMenuItem(); |
Also, if you want to show the title of the chrome custom tab, add this line:-
|
1 |
builder.setShowTitle(true); |
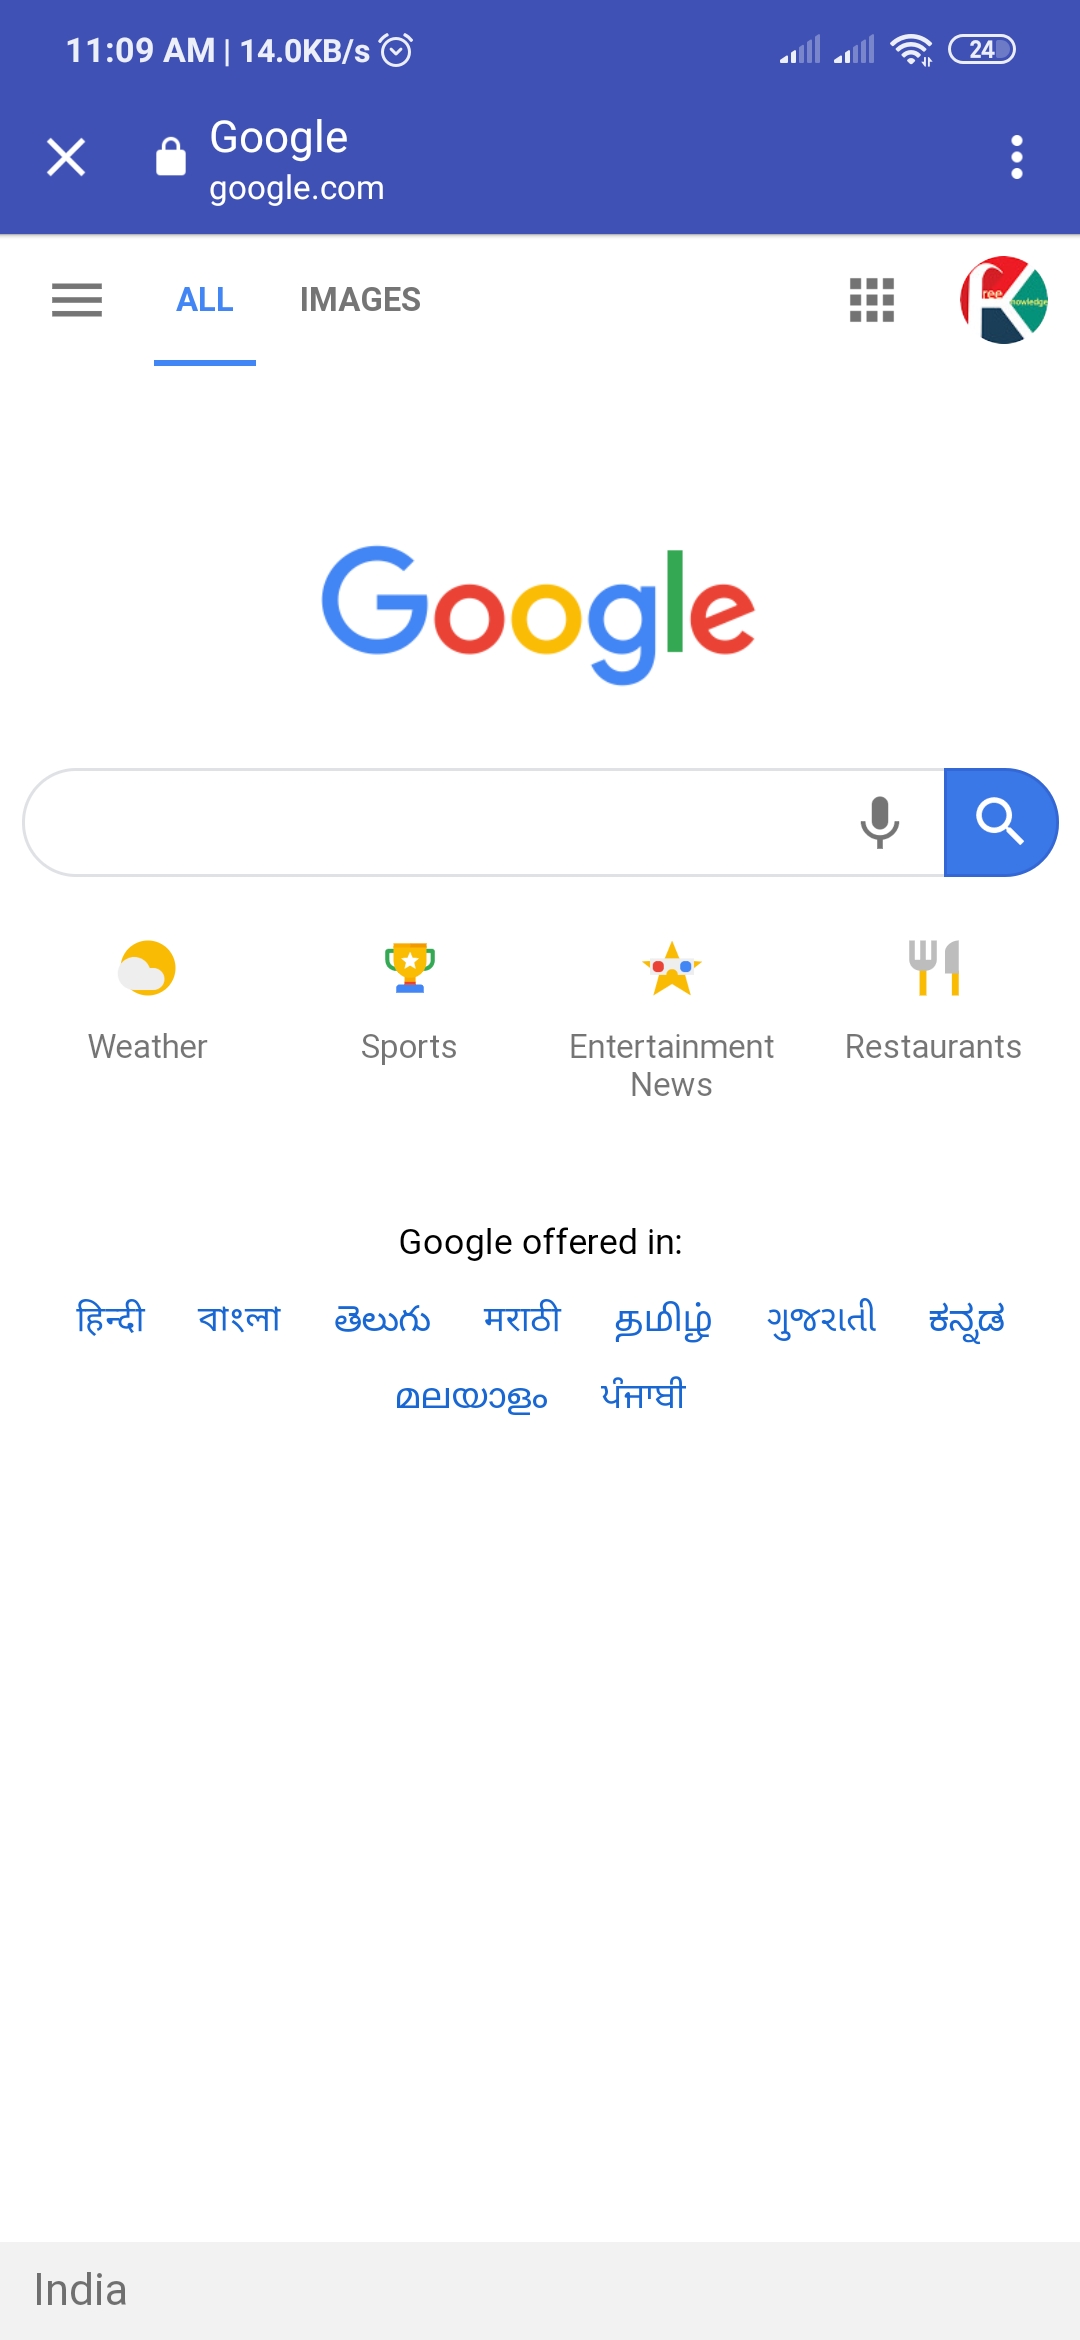
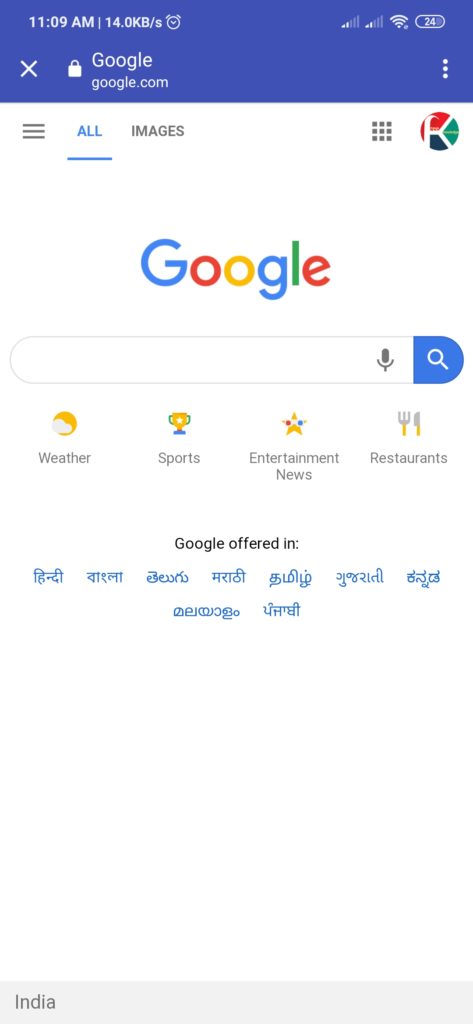
An image is shown below for demo purpose:-
The Full Java Code along with the XML layout for the above example is shown below:-
- First Create a new project in Android Studio
- File ⇒ New Android ⇒ Application Project
- Then Open src -> package -> MainActivity.java and then add following code :
JAVA (MainActivity.java)
|
1 2 3 4 5 6 7 8 9 10 11 12 13 14 15 16 17 18 19 20 21 22 23 24 25 26 27 28 29 30 31 32 33 34 35 36 37 38 39 40 41 42 43 44 45 46 47 48 49 50 51 52 53 54 55 56 57 58 |
import android.graphics.Color; import android.net.Uri; import android.support.customtabs.CustomTabsIntent; import android.support.v7.app.AppCompatActivity; import android.os.Bundle; import android.view.View; import android.widget.Button; public class ChromeCustomTabs extends AppCompatActivity { @Override protected void onCreate(Bundle savedInstanceState) { super.onCreate(savedInstanceState); setContentView(R.layout.activity_chrome_custom_tabs); Button button = findViewById(R.id.button); button.setOnClickListener(new View.OnClickListener() { @Override public void onClick(View view) { openInCustomTab("https://www.google.com"); } }); } private void openInCustomTab(String url){ Uri websiteUri; if(!url.contains("https://") && !url.contains("http://")){ websiteUri = Uri.parse("http://" + url); } else { websiteUri = Uri.parse(url); } CustomTabsIntent.Builder customtabintent = new CustomTabsIntent.Builder(); customtabintent.setToolbarColor(Color.parseColor("#3F51B5")); customtabintent.setShowTitle(true); if(chromeInstalled()){ customtabintent.build().intent.setPackage("com.android.chrome"); } customtabintent.build().launchUrl(ChromeCustomTabs.this,websiteUri); } private boolean chromeInstalled(){ try{ getPackageManager().getPackageInfo("com.android.chrome", 0); return true; } catch (Exception e){ return false; } } } |
- Now Open res -> layout -> activity_main.xml and then add following code :
XML (activity_main.xml)
|
1 2 3 4 5 6 7 8 9 10 11 12 13 14 15 16 17 18 19 20 21 |
<android.support.constraint.ConstraintLayout xmlns:android="http://schemas.android.com/apk/res/android" xmlns:app="http://schemas.android.com/apk/res-auto" xmlns:tools="http://schemas.android.com/tools" android:layout_width="match_parent" android:background="#F2F2F2" android:layout_height="match_parent" tools:context=".ChromeCustomTabs"> <Button android:id="@+id/button" android:layout_width="wrap_content" android:layout_height="wrap_content" android:text="LAUNCH URL" app:layout_constraintBottom_toBottomOf="parent" app:layout_constraintLeft_toLeftOf="parent" app:layout_constraintRight_toRightOf="parent" app:layout_constraintTop_toTopOf="parent" /> </android.support.constraint.ConstraintLayout> |
Output:
Finally, run this project.
This is how Chrome Custom Tabs code
You can directly copy paste these snippets to your android studio, and they should work perfectly. Just save and run your project. You can also try to play with other custom tab options on your own and see the corresponding changes accordingly. There are a variety of properties available which can be changed to make your chrome custom tab look the way you want it to be.
For a more detailed guide, you can also visit android’s official guide below:-
https://developer.chrome.com/multidevice/android/customtabs
With this we came to an end of our tutorial. Comment down below if you are facing any problems.


