Ratingbar Android Studio Kotlin language
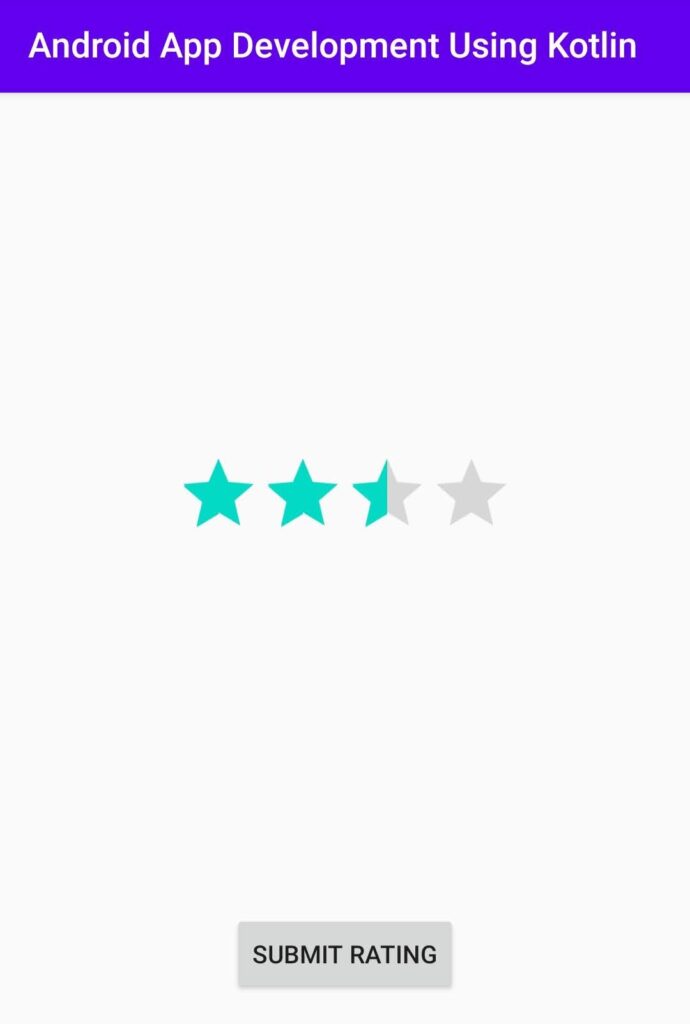
Hello android developer, in this tutorial you will learn how to implement RatingBar in any android app using kotlin language. if you want to get the rating from the user then Android Rating Bar can help you to get a rating. user simple or drag on the stars to set the rating user value. Rating bar returns floating-point numbers like1.0, 2.5, 3.0 etc. follow the below code for Ratingbar Android Studio Kotlin.
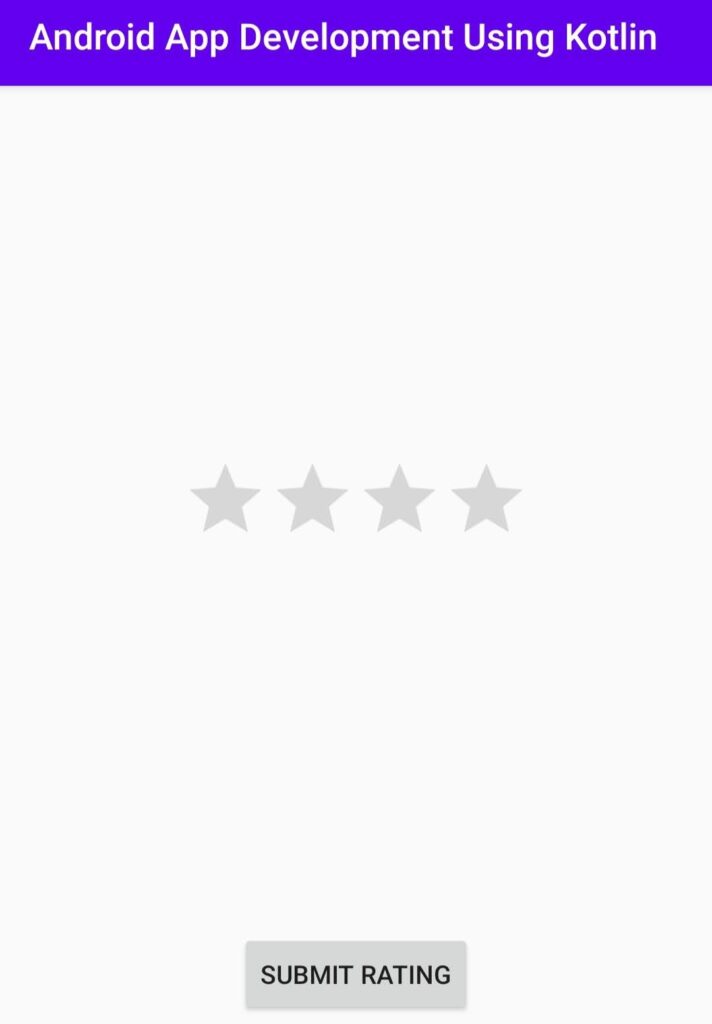
from this article, we show you how to use xml to display the rating bar and Button. we have set the click listener on the button to show toast message. when the android user click on the button then the rating will display in Toast message.
You may know also:
Progress Dialog in Android using Kotlin
WebView in an Android App using Kotlin language
Enable Webview Zoom Controls Using Kotlin In Android
Android Calculator in Kotlin Using Android Studio
Ratingbar Android Studio Kotlin
Let’s see the basic example of rating bar in android using kotlin language.
Step 1 : – create a new android studio project. Open android Studio => Go to File => New Project. new Select empty activity and write project name and select language as kotlin and click finish button.
Step 2 : – Now open res/layout/activity_main.xml file. Then copy the below code and past into the xml file.
activity_main.xml
|
1 2 3 4 5 6 7 8 9 10 11 12 13 14 15 16 17 18 19 20 21 22 23 24 25 26 27 28 29 30 |
<androidx.constraintlayout.widget.ConstraintLayout xmlns:android="http://schemas.android.com/apk/res/android" xmlns:app="http://schemas.android.com/apk/res-auto" xmlns:tools="http://schemas.android.com/tools" android:layout_width="match_parent" android:layout_height="match_parent"> <RatingBar android:id="@+id/rBar" android:layout_width="wrap_content" android:layout_height="wrap_content" android:numStars="4" android:stepSize="0.5" android:theme="@style/Widget.AppCompat.RatingBar" app:layout_constraintBottom_toTopOf="@+id/button" app:layout_constraintEnd_toEndOf="parent" app:layout_constraintStart_toStartOf="parent" app:layout_constraintTop_toTopOf="parent" /> <Button android:id="@+id/button" android:layout_width="wrap_content" android:layout_height="wrap_content" android:text="Submit Rating" app:layout_constraintBottom_toBottomOf="parent" app:layout_constraintEnd_toEndOf="parent" app:layout_constraintStart_toStartOf="parent" app:layout_constraintTop_toBottomOf="@+id/rBar" /> </androidx.constraintlayout.widget.ConstraintLayout> |
in activity-main.xml file, we have used one button and one ratingbar, android:stepSize=”0.5″ .
Step 3 : – Now open MainActivity.kt file and then copy the blow kotlin code and past it into the MainActivity.kt file. using this code wen can access these button and rating bar.
MainActivity.kt
|
1 2 3 4 5 6 7 8 9 10 11 12 13 14 15 16 17 18 19 20 21 22 |
import androidx.appcompat.app.AppCompatActivity import android.os.Bundle import android.widget.Button import android.widget.RatingBar import android.widget.Toast class MainActivity : AppCompatActivity() { override fun onCreate(savedInstanceState: Bundle?) { super.onCreate(savedInstanceState) setContentView(R.layout.activity_main) val rBar = findViewById<RatingBar>(R.id.rBar) if (rBar != null) { val button = findViewById<Button>(R.id.button) button?.setOnClickListener { val msg = rBar.rating.toString() Toast.makeText(this@MainActivity, "Rating is: "+msg, Toast.LENGTH_SHORT).show() } } } } |
in MainActivity.kt we have set on click listener to show toast message. when use click on button then Toast message display the selected rating in ratingbar.
Step 4 : – Now run your project, you will get output as show below.
Download Source code from Github


