Alert Dialog Box Code for Android Studio
In this tutorial you will learn to create Alert Dialog Box in Android Studio.
Android Alert Dialog Box code
An Alert Dialog box is a small box like window which displays a prompt message and then receives information from the user. It usually gives two choices and as options and performs a task based on the option chosen. It is generally used to display alert messages such as Warning! Your file will be deleted! or something like that.
Inserting an Alert Dialog Box in your app
To display an Alert Dialog Box. first you will have to use the AlertDialog.Builder class and BUILD an alertDialogBuilder object, as shown in the example below :-
|
1 2 |
AlertDialog.Builder alertDialogBuilder = new AlertDialog.Builder( context); |
Setting Title of Alert Dialog Box
To set Title, use the SetTitle function.
|
1 |
alertDialogBuilder.setTitle("Your Title"); |
Setting Message to be displayed in Alert Dialog Box
Usually a small chunk of information is displayed in brief inside the Dialog Box. To set this message to be displayed, use the SetMessage function.
|
1 |
alertDialogBuilder.setMessage("Click yes to exit!") |
Setting Positive Button
|
1 |
alertDialogBuilder.setPositiveButton("Message to be displayed",task to be executed) |
Setting Negative Button
|
1 2 3 |
alertDialogBuilder.setNegativeButton("Message to be displayed",new DialogInterface.OnClickListener() { public void onClick(DialogInterface dialog,int id) { dialog.cancel(); |
In place of task to be executed, you can either leave it empty or you can create some additional OnClickListener.
Finally Creating the AlertDialogBox
After building our dialogbox, finally you have to create it using the .create() option and display it using .show()
|
1 2 |
AlertDialog alertDialog = alertDialogBuilder.create(); alertDialog.show(); |
The Full Java Code along with the XML layout for the above example is shown below:-
- First Create a new project in Android Studio
- File ⇒ New Android ⇒ Application Project
- Then Open src -> package -> MainActivity.java and then add following code :
JAVA (MainActivity.java)
|
1 2 3 4 5 6 7 8 9 10 11 12 13 14 15 16 17 18 19 20 21 22 23 24 25 26 27 28 29 30 31 32 33 34 35 36 37 38 39 40 41 42 43 44 45 46 47 48 49 50 |
import android.content.Context; import android.content.DialogInterface; import android.support.v7.app.AlertDialog; import android.support.v7.app.AppCompatActivity; import android.os.Bundle; import android.view.View; import android.widget.Button; public class Alertdialog extends AppCompatActivity { final Context context = this; private Button button; @Override protected void onCreate(Bundle savedInstanceState) { super.onCreate(savedInstanceState); setContentView(R.layout.activity_alertdialog); button = (Button) findViewById(R.id.buttonAlert); button.setOnClickListener(new View.OnClickListener() { @Override public void onClick(View arg0) { AlertDialog.Builder alertDialogBuilder = new AlertDialog.Builder( context); alertDialogBuilder.setTitle("Your Title"); alertDialogBuilder .setMessage("Click yes to exit!") .setCancelable(false) .setPositiveButton("Yes",new DialogInterface.OnClickListener() { public void onClick(DialogInterface dialog,int id) { Alertdialog.this.finish(); } }) .setNegativeButton("No",new DialogInterface.OnClickListener() { public void onClick(DialogInterface dialog,int id) { dialog.cancel(); } }); AlertDialog alertDialog = alertDialogBuilder.create(); alertDialog.show(); } }); } } |
- Now Open res -> layout -> activity_main.xml and then add following code :
XML (activity_main.xml)
|
1 2 3 4 5 6 7 8 9 10 11 12 13 14 15 16 17 18 19 20 |
<android.support.constraint.ConstraintLayout xmlns:android="http://schemas.android.com/apk/res/android" xmlns:app="http://schemas.android.com/apk/res-auto" xmlns:tools="http://schemas.android.com/tools" android:layout_width="match_parent" android:background="#A7A0A0" android:layout_height="match_parent" tools:context=".Alertdialog"> <Button android:id="@+id/buttonAlert" android:layout_width="wrap_content" android:layout_height="wrap_content" android:text="Show Alert Box" app:layout_constraintBottom_toBottomOf="parent" app:layout_constraintEnd_toEndOf="parent" app:layout_constraintStart_toStartOf="parent" app:layout_constraintTop_toTopOf="parent" /> </android.support.constraint.ConstraintLayout> |
You can directly copy paste these snippets to your android studio, and they should work perfectly. Just save and run your project. You can also try to play with other dialog settings on your own and see the corresponding changes accordingly. There are a variety of properties available which can be changed to make your Alert Dialog Box more materialized and fancy looking.
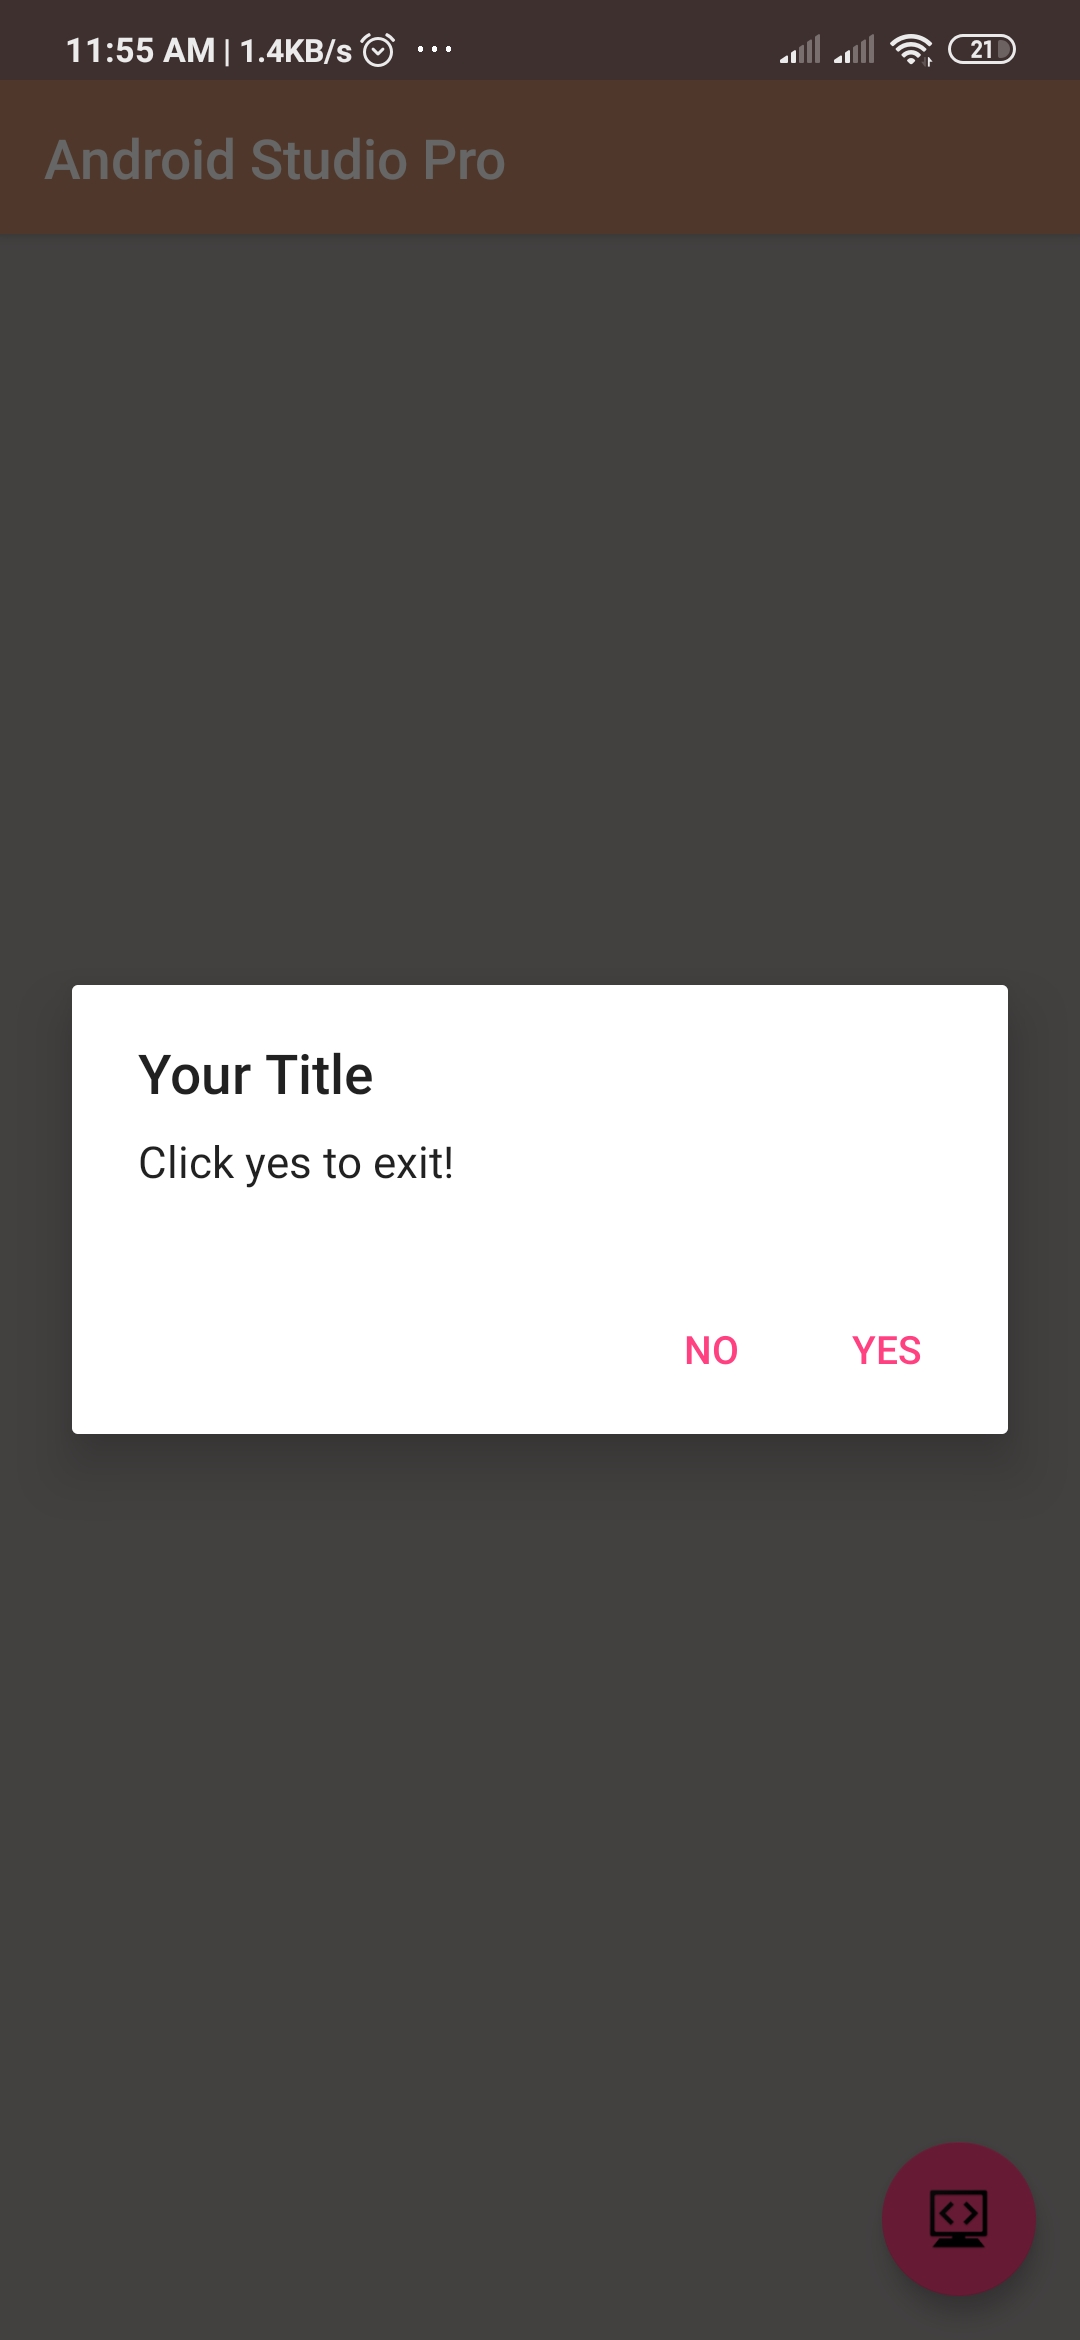
Output:
Finally, run this project.
This is how Alert Dialog Box Code snippet for Android Studio
For a more detailed guide, you can also visit android’s official guide below:-
https://developer.android.com/reference/android/app/AlertDialog
Comment down below if you are facing any problems.


